DB Collage

Archive of the Mendocino Heritage Artists

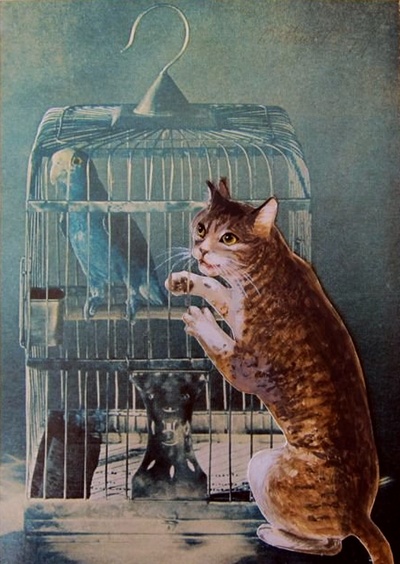
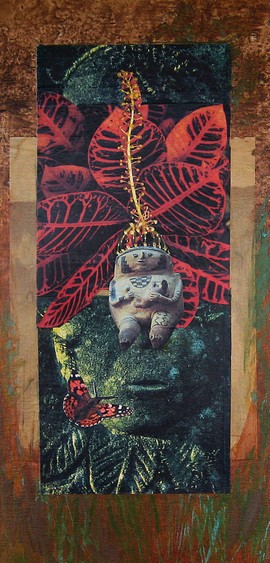
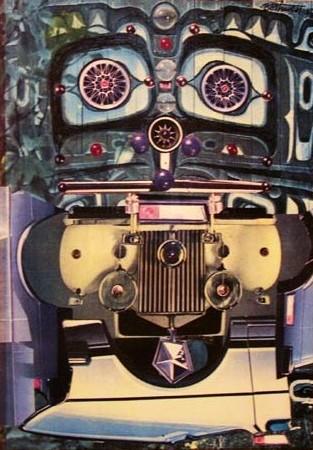
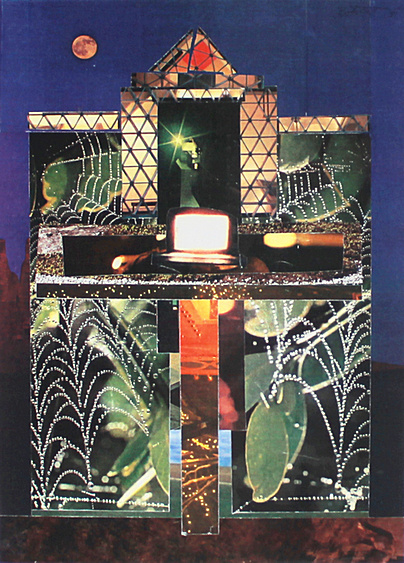
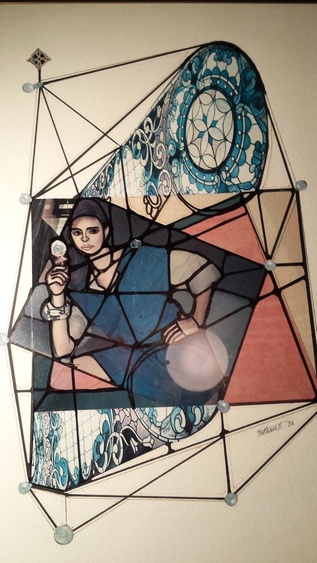
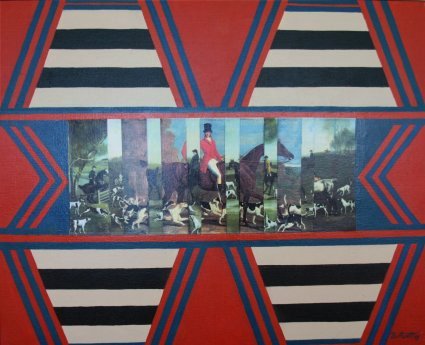
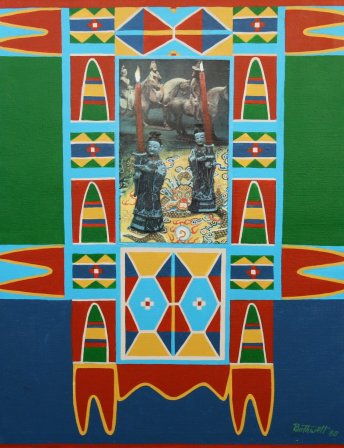
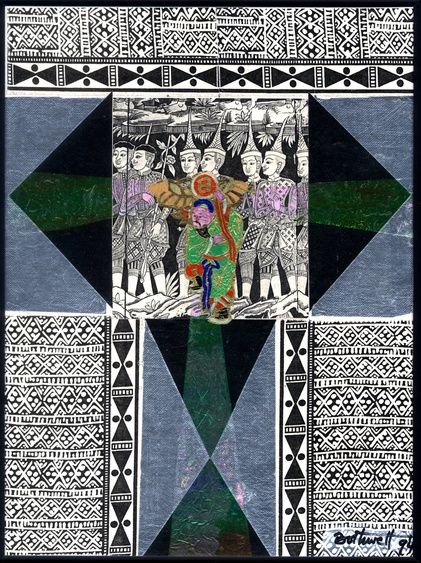
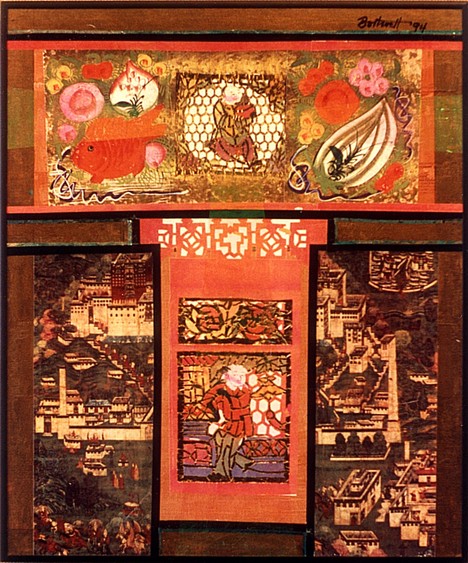
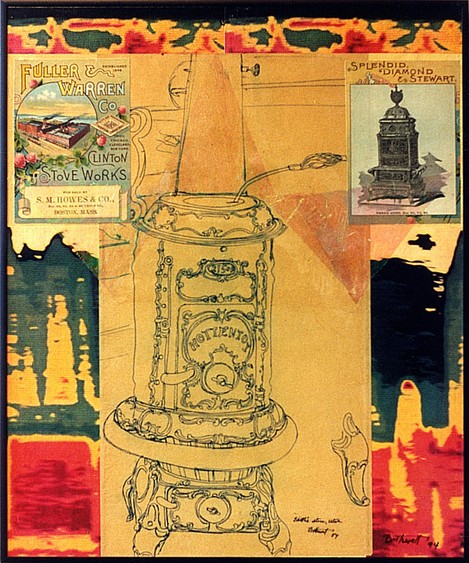
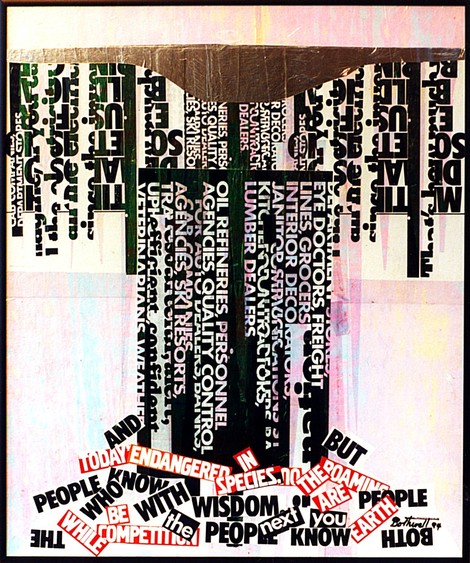
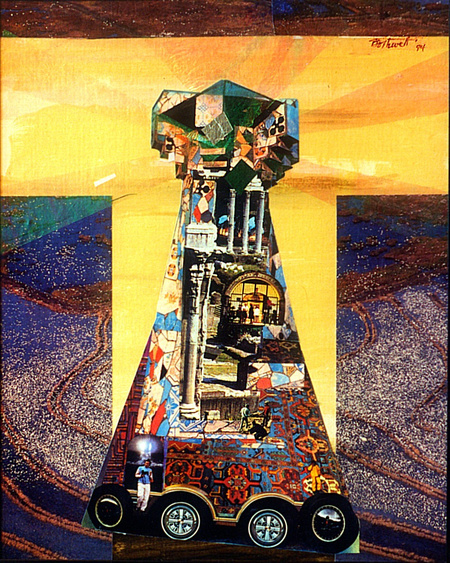
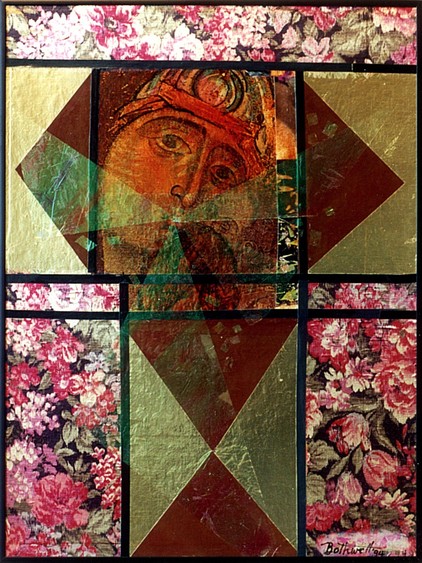
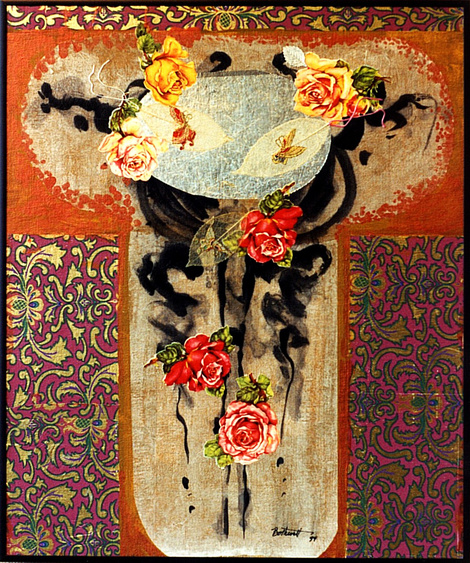
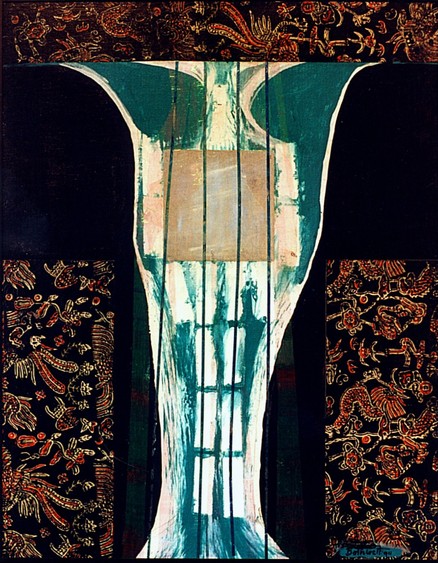
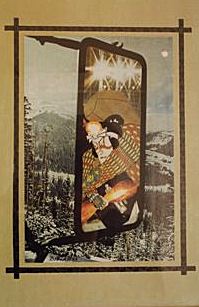
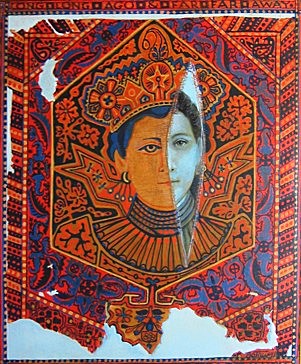
Collage & Mixed Media

Stag’s Heart by Dorr Bothwell (1946). Gouache with collage on board (15″ x 22″). Private collection.


Collage 2 by Dorr Bothwell (1969). Private Ccollection. Photographed by Gail Said Johnson (2017).


Collage 2 by Dorr Bothwell (1969). Private collection. Color reconstruction.


Let’s Be Friends by Dorr Bothwell (1977). Collage. Private Collection.


Beatles Celebration by Dorr Bothwell (1981). Collage. Private collection.


The Gold of Ophir by Dorr Bothwell (1981). Collage (9″ x 15.5″). Private collection.


The Goddess Gaia as a Child by Dorr Bothwell (1936). Collage. Private collection.
Shrines and Altars: Divas on Machines by Dorr Bothwell (1983). Collage. Private collection.
Shrines and Altars: Summer Night Shrine by Dorr Bothwell (1983). Collage. Private collection.
Shrines and Altars: Inverse Shrine by Dorr Bothwell (1983). Collage. Private collection.
Metropolis by Dorr Bothwell (1983). Collage inspired by the Fritz Lang film, Metropolis (1927). Private collection
We Owe Allegiance to No Crown by Dorr Bothwell (1981). Collaged wooden tray. Zacha Annex collection.


Dream Web: Holy Fool by Dorr Bothwell (1986). Collage. Private collection.
Dream Web: Holy Fool by Dorr Bothwell (detail).
Dream Web No. 1 by Dorr Bothwell (1986). Collage (19.25″ x 15.25″). Private collection.
Portal: La Donna e Mobile by Dorr Bothwell (1988). Acrylic and acrylic transfer on canvas (16″ x 20″). Private collection.
Southwest Portal to the English Hunt by Dorr Bothwell (1988). Acrylic and acrylic transfer (29.5″ x 32.5). Private collection.
Southwest Portal to Cathay by Dorr Bothwell (1988). Acrylic and acrylic transfer ((32″ x 26″). Private collection.
Southwest Portal to Space by Dorr Bothwell. Acrylic and acrylic transfer on canvas (1988). Private collection.

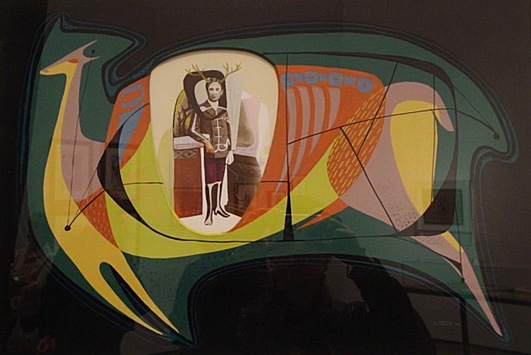
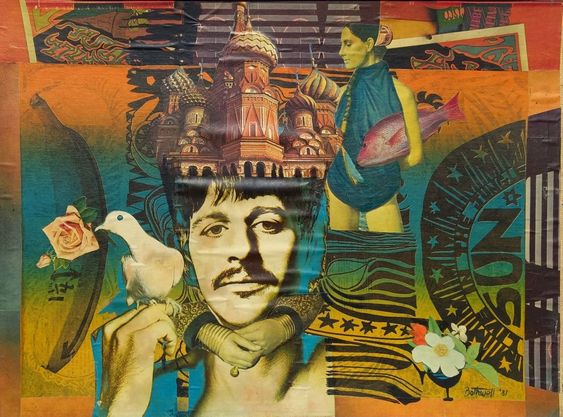
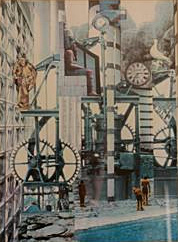
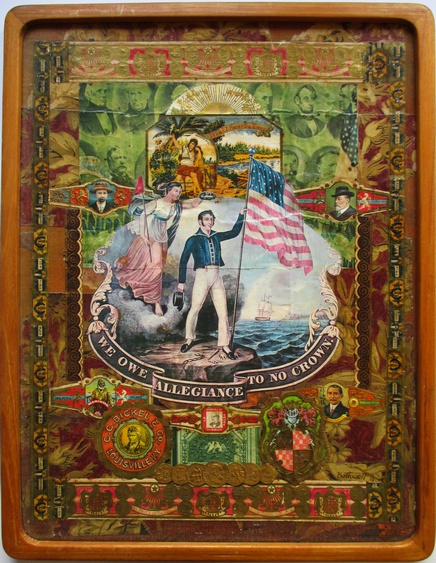
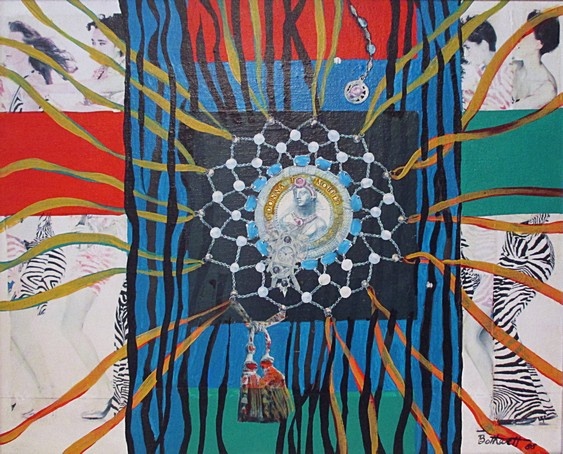
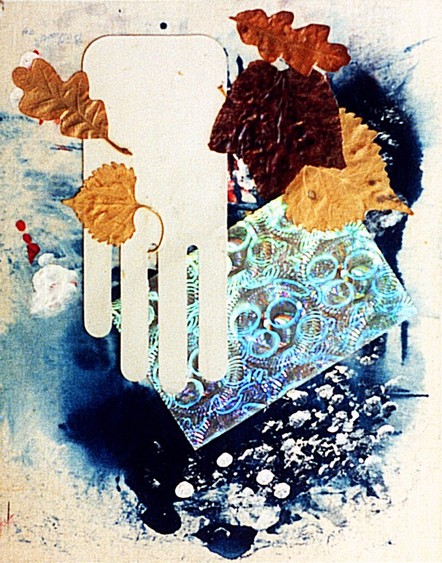
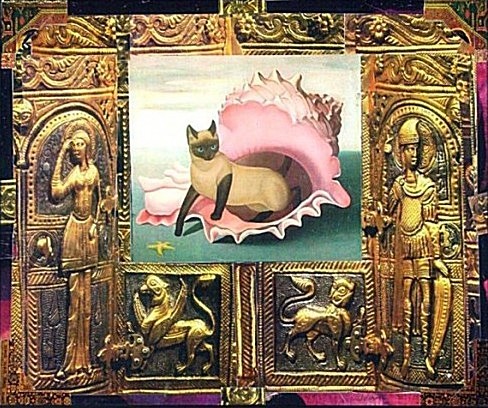
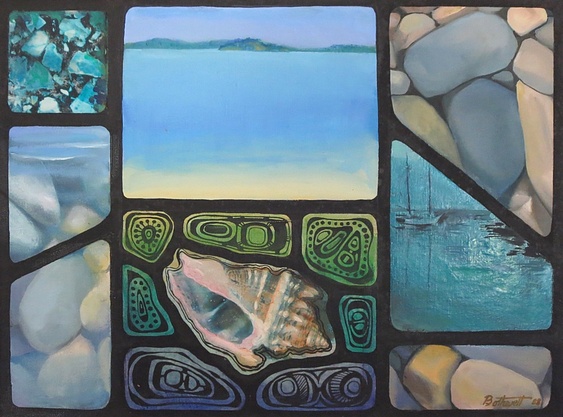
Seaside Sampler by Dorr Bothwell (1988). Oil and collage on canvas. Private collection.

Memory Box Symbols by Dorr Bothwell (1988). Collage. Private collection.
Ideograph II by Dorr Bothwell (c. 1990). Collage (15″ x 30″) with laserprint elements, including laserprint of Bothwell’s 1946 serigraph Ideograph. Private collection.
Tau/Tao Series: Go with the Flow by Dorr Bothwell (1992). Mixed media collage. Private collection.
Time Portal: Third Phase Centennial by Dorr Bothwell (1993). Acrylic and acrylic transfer on canvas. Private collection.
Gallery owner Kate Lee and artist Dorr Bothwell plan the hanging of Bothwell’s Tau/Tao exhibit (May 1994). On the wall: artwork by Jim Bertram; on the floor, artwork by Dorr Bothwell. Photo: CG Blick.

Tau/Tao Series No. 3: Past History by Dorr Bothwell (1994). Mixed media collage (16″ x 12″). Private collection.
Tau/Tao Series: Winter Water Song by Dorr Bothwell (1994). Mixed media collage. Private collection.
Tau/Tao Series: Thermal Sampler by Dorr Bothwell (1994). Mixed media collage. Private collection.
Tau/Tao Series: Word Torrent by Dorr Bothwell (1994). Mixed media collage. Private collection.
Tau/Tao Series: Tower of Babel by Dorr Bothwell (1994). Mixed media collage. Private collection.
Tau/Tao Series: Old Folksong by Dorr Bothwell (1994). Mixed media collage. Private collection.
Tau/Tao Series: June Birthday Madrigal by Dorr Bothwell (1993). Mixed media collage. Private collection.
Tau/Tao Series: April’s Robe of Grass by Dorr Bothwell (1994). Mixed media collage. Private collection.
Tau/Tao Series: Bow East by Dorr Bothwell (1994). Mixed media collage. Private collection.
Tau/Tao Series: Winter’s Calling Card by Dorr Bothwell (1993). Mixed media collage. Private collection.
Tau/Tao Series: Wind Bird by Dorr Bothwell (1993). Acrylic transfer and acrylic on canvas. Private collection.
Time Portal: Third Phase Centennial by Dorr Bothwell (1993). Acrylic and acrylic transfer on canvas. Private collection.
Tau/Tao Series: Go with the Flow by Dorr Bothwell (1992). Mixed media collage. Private collection.
River Goddess by Dorr Bothwell (1990). Mixed media including collage. Private collection.
Portal: Lucia Diva by Dorr Bothwell (1989). Acrylic and collage. Private collection.
Southwest by Dorr Bothwell (1988). Collage. Private collection.
Portal: Rear View by Dorr Bothwell (1988). Collage. Private collection.
Portal: Long Ago & Far Far Away by Dorr Bothwell (1988). Collage and acrylic on canvas. Private collection.
Shrines and Altars: The Birth of Venus by Dorr Bothwell (1987). Collage (laserprint elements include Bothwell’s 1939 painting, The Birth of Venus). Private collection.
Shrines and Altars: Inverse Shrine by Dorr Bothwell (1983). Collage. Private collection.
Metropolis by Dorr Bothwell (1983). Collage inspired by the Fritz Lang film, Metropolis (1927). Private collection
Shrines and Altars: Divas on Machines by Dorr Bothwell (1983). Collage. Private collection.
Beatles Celebration by Dorr Bothwell (1981). Collage. Private collection.
The Gold of Ophir by Dorr Bothwell (1981). Collage (9″ x 15.5″). Private collection.
Southwest Portal to the English Hunt by Dorr Bothwell (1988). Acrylic and acrylic transfer (29.5″ x 32.5). Private collection.
Southwest Portal to Cathay by Dorr Bothwell (1988). Acrylic and acrylic transfer ((32″ x 26″). Private collection.
Stag’s Heart by Dorr Bothwell (1946). Gouache with collage on board (15″ x 22″). Private collection.
Ideograph II by Dorr Bothwell (c. 1990). Collage (15″ x 30″) with laserprint elements, including laserprint of Bothwell’s 1946 serigraph Ideograph. Private collection.

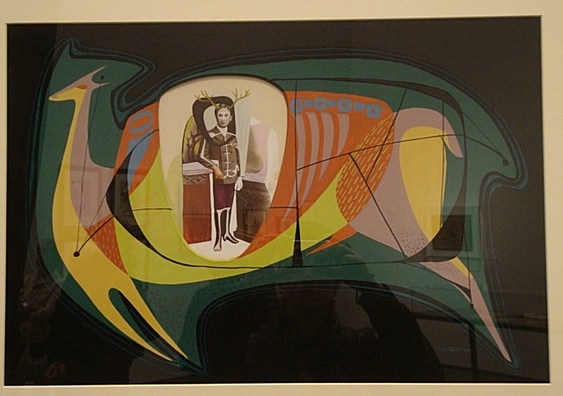
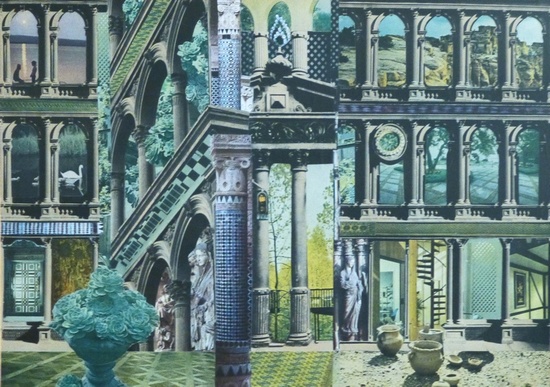
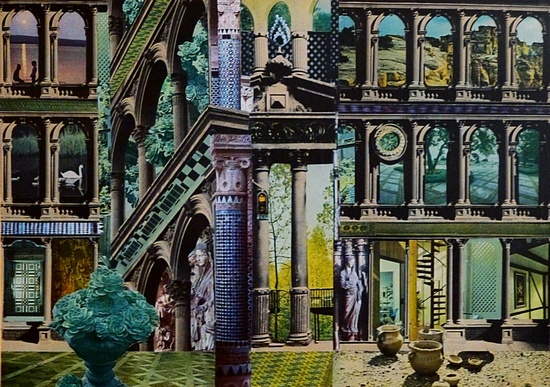
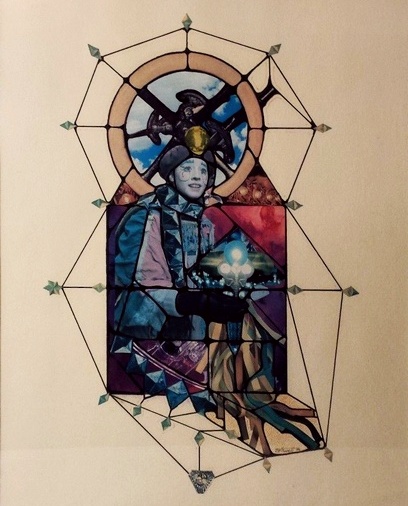
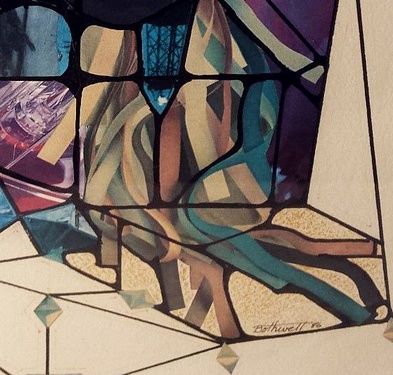
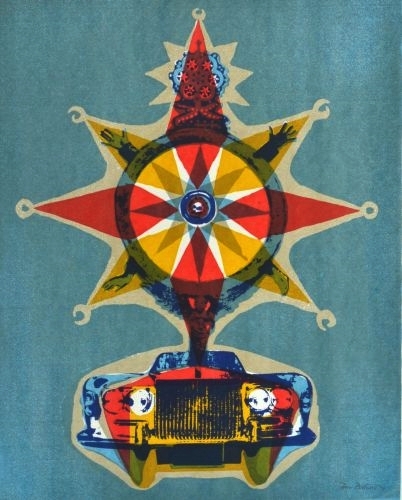
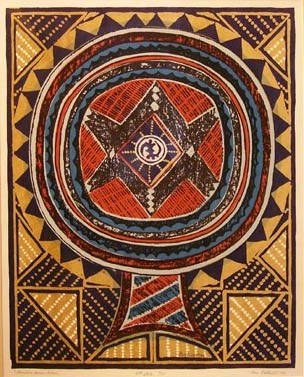
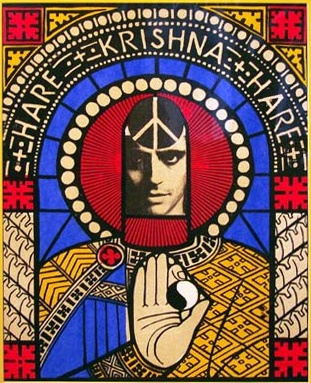
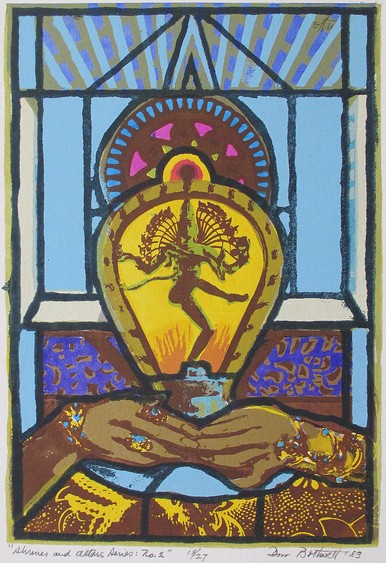
Serigraphs Based on Collages

Gloria Mundi Mandala by Dorr Bothwell (1971). Serigraph (19.5″ x 16″). Private collection.
Icon by Dorr Bothwell (1971). Serigraph. Private collection.
The Turtle Mirror by Dorr Bothwell (1971). Serigraph. Private collection.
Shrines and Altars: Hare Krishna Hare by Dorr Bothwell (1983). Serigraph. Private collection.
Shrines and Altars Series: No. 2 by Dorr Bothwell (1983). Serigraph. Private collection.

LINKS
Dorr Bothwell: Artwork

Dorr Bothwell in Her Own Words
Barebones Bothwell
Mendocino Heritage Artists
Welcome!